Not too long ago, it you wanted to enlarge a photo, you would have needed a negative. How does photo enlargement work, both analog and digital? And if you want a photo enlarged now, how do you get it done?

Before digital photography, most photos were prints made from negatives. The photo negative was what resulted from loading film in your camera and creating exposures. The rolls of film you used were coated with light sensitive chemistry. When you click the shutter, light that passed through your lens to the film was recorded on the light sensitive chemistry.
When you sent your film to be developed, other chemicals developed and fixed the light recorded on the film to create photographic negatives. The tones and colors of the image are inverted on the negative.
How do negatives become prints and what determines their size?
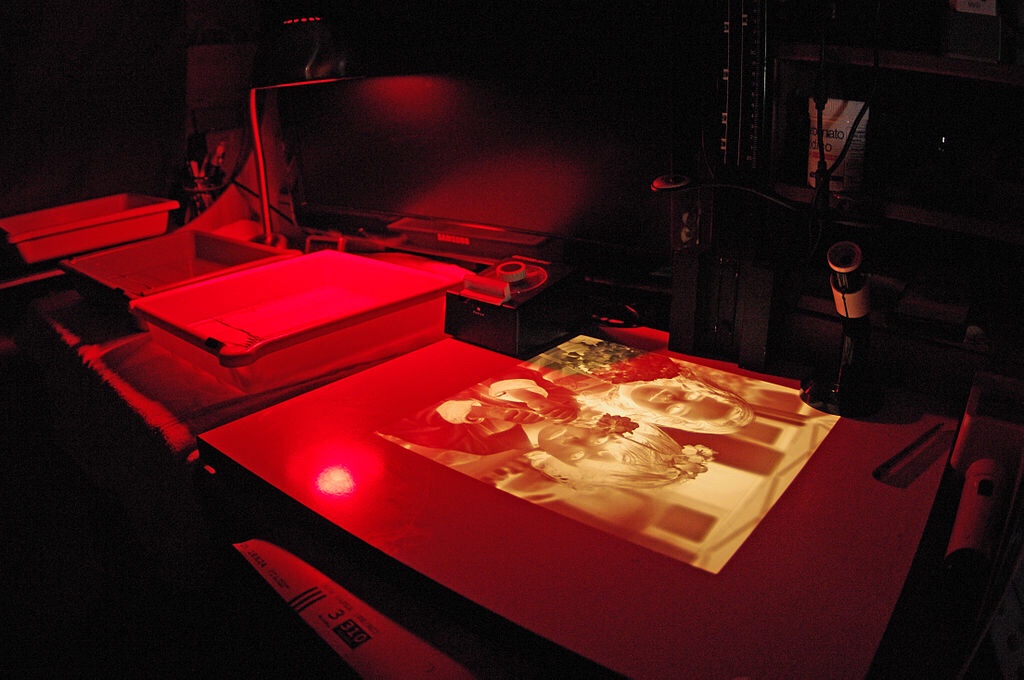
The images on a strip of negatives are small. How do they become large prints? That’s what the enlarger is for. An enlarger is essentially a projector. A bulb at the top projects light through the negative, and onto a flat base. The head of the enlarger can be moved up and down to make the projected image larger or smaller. The closer the head is to the base, the smaller the image will be. The higher the head is raised, the larger the image will be.
The negative image is then projected onto a light sensitive sheet of photo paper for a predetermined number of seconds. When light shines through the negative, it is registered back to positive on the paper. Parts of the image that are lighter in the print correspond to darker parts of the negative, where the light has been blocked. Parts of the negative that are thin allow light to shine straight through it onto the paper, making a dark area on the print.
We’ve probably all seen movies where a photographer snaps some pictures, goes into the darkroom, and magically an image appears on an 8×10 piece of paper that is in a tray of liquid. What’s missing from this scene is developing the film, and using the enlarger to make a print from a negative. The liquid in these scenes is supposed to be the developing chemicals that reveal the latent image that was exposed to the paper. The other chemicals necessary are the stop solution that halts the process of developing, and the fix, which makes the image permanent and the paper no longer sensitive to light.
With analog photo processing as described, if you wanted a photo reprinted or enlarged to a different size, you would bring the photo negative to the print shop to go through this process. If you didn’t have a negative, you could bring the print and the technician could make a new negative by rephotographing it, risking some loss in quality.
How would you enlarge a photo now?
In some ways it’s easier, though if you don’t apply the basics of resolution conversion, you will probably be unhappy with the quality of the end product.
Read the next post here for digital enlargement basics.
Do you have a special photo you want professionally enlarged and framed? Email me for a quote.

Recent Comments